Monday, December 31, 2012

Ringing in the New Year

Here's wishing everyone a happy and healthy new year. Whether you are out whooping it up or holed up in a blanket fort battling a cold like Hubby may you ring in the new year in style! Tonight our style involves warm pjs, fluffy socks, piles of comforters, and boxes of Kleenex. Yup! The Boy started out with this cold last week and he has graciously shared it with us. We whooped it up by making a fabulous pot of broccoli cheddar soup. I found the recipe on Pioneer Woman's site. It turned out so well and helped warm us up. Did I take photos of the soup? No. Why? Because I suck and as tasty as this soup is, it isn't really a pretty soup.  Besides, right about now I kind of wish we were in the spot we were last year at this time.... On the beach in Hawaii...


We curled up with our bowls of soup and watched season 2 of Flashpoint, a fantastic Canadian show about a police strategic response unit. The show just recently had its series finale and we are getting caught up on missed episodes.

Of course with it being New Year's Eve, we indulged in dessert. Sticky toffee pudding cakes! Yum! This is a recipe I found online from Chatelaine magazine and really reminds me on a Christmas time steamed pudding my Mom used to make, This one is complete with a brown sugar sauce to top it off. (Of course adding some Bailey's Irish Cream to some whipped cream doesn't hurt!)


Once again, here's wishing you a happy, healthy new year!  Here it is only 9pm and I will probably be asleep soon....there's always next year!

Until next time, stay warm and eat well.

Saturday, December 29, 2012

A Dish to Remember

It is hard to believe that 2012 is almost over! A busy year has flown by so quickly. After we strayed from tradition last year and ran off to Hawaii, we stuck around to enjoy a white Christmas.  We did miss the sun and sand but are toughing it out here. (Although we did buy a light up palm tree to change it up a little...)

The Christmas Palm
I trust everyone had a wonderful holiday season full of family, and friends, and delectable treats. I don't know about you but during the holidays I tend to think of loved ones that aren't with us anymore. Traditions are one way to bring loved ones closer and many traditions involve food. Perhaps this is because food can trigger memories and remind us of past holidays. I know that one way I like to bring my Mom a bit closer during Christmas is to make some of her recipes that she only made this time of the year. I still have some recipes and cook books to work my way through as they are still in my Dad's basement.(I did find her fruitcake recipe earlier this winter but didn't get a chance to make it. I will try it out next Christmas.)
A little tough to read, but I have a pretty good memory....
 This year, as in years past, I have one recipe in particular that I make every year.  It is a stuffing recipe that originated in Scotland that my Grandma used to make. Mom's recipe has it labelled as 'Mealy Jimmy' but for years we have known it as 'scurly'. A quick Internet search yields a few sites that confirm both names and recipes that are similar (and some recipes that aren't so similar). In layman's terms, scurly is essentially a poor man's haggis.  While there are absolutely no animal innards or offal in this dressing, it is called poor man's haggis because it was used by folks who didn't have sheep or anything really to make haggis.  The dressing is ridiculously simple and ridiculously tasty.

Scurly
(taken from my Mom's recipe collection)

1 onion, chopped
3 cups Scottish oatmeal
1 cup beef suet
Salt and pepper, a healthy pinch of both

Mix all the ingredients together ans stuff into the cavity of a turkey before roasting. Roast your turkey as you normally would, scooping out the scurly when the turkey is fully cooked. Serve with the turkey and gravy.

If you have extra that you cannot fit into the turkey, place it in a baking dish, cover with foil and baked in the oven for about 30 minutes, or until hot and the oatmeal is cooked. If baking in a dish, you may need to add some chicken broth to moisten the oatmeal while it is baking.

Scurly is very tasty with gravy, served right alongside the turkey and all the other good stuff.  I particularly like to make a 'leftovers bowl' with scurly, mashed potatoes, peas, turkey, and gravy.....sooo tasty. (doesn't look pretty, but it is tasty!) I try to make sure we have scurly at Christmas and thanksgiving just for the leftovers and the memories of Mom are an added bonus.

A leftovers bowl....so tasty. That's the scurly at the bottom of the picture.
Do you stick to tradition or do you like to change it up? How do you remember loved ones during the holidays?

Until next time, stay warm and eat well.

Saturday, December 1, 2012

Hands Off My Cheese, Gromit!


This week had a bit of a theme to it; cheese!! Last night I met some of the girls at Bistro 7 1/4 for an evening out. (LOVE that place).  This is a night out we need to book way more often then we actually do. This is a group of girls that date back to the good old days.  In fact, Lisa's parents still live across the street from my dad on the street were we grew up! Many of the others in the group are friends from high school. We have seen each other through so much. From weddings, to children, to funeral these ladies have always been there for each other. You WANT these ladies on your side. These are the friends who you may not talk to as often as you should but are the first ones you call or text with news, whether it is happy news, or you are in tears, you call them. Unfortunately we had a few cancellations and only 3 of use met. But hey, life happens and we will have to plan another one soon to make up for it!

 Trina and I shared a cheese plate and it was cheese heaven. Lisa had the roasted beet salad, which is always a great choice. I then had the mac n cheese and a nice glass of red wine which helped round out all that cheese. Lisa and Trina both had the moules et frites.....mussels and fries. They reported tastiness all around! It is safe to say I nearly went into a cheese coma, which isn't necessarily a bad thing!

Earlier in the week, Tuesday evening to be exact, I had a wonderful night out with a couple of newer blogger friends. (newer friends, not newer bloggers! We are getting to know each other and I'm sure we'll be friends for a long time!) We participated in a cheese making class at the Food Studio on Roblin. The class was taught by Louise May from Aurora Farms. She's got her own little farm in St Norbert, just South of Winnipeg. We learned a wealth of information about goats' milk, the process of making soft cheeses at home, and had some fun too.  It was nice to get out and learn some new things, even though I probably won't have time to make cheese until I am on winter holidays, I took extensive notes and I have Hadass and Anna to ask questions. (Thank goodness!) 


It was fabulous cheese and friend filled week!!!

Until next time, stay warm and eat well!

Saturday, November 3, 2012

Time to Myself Fail - Mom Syndrome

There are so many things a Mom SHOULD do when she gets a day to herself. She SHOULD curl up and read one of the many books she has been wanting to read. She SHOULD pamper herself with a pot of tea while she reads. She SHOULD treat herself to a bubble bath complete with candles and relaxing music. The reality is that while lying in the tub she gets grossed out at the state of the bathroom and ends up scrubbing the place top to bottom. As long as she's doing that, she may as well run the vacuum and mop the hardwoods and kitchen. Oh hey, if she's doing the floors in the kitchen she may as well clean that room too. Then it's 'holy shit! The kitchen is clean! I'm going to bake!'  It is called Mom Syndrome and I know many ladies who suffer and don't even know there is a name for it!

It really is a steep hill to slide down. Planning a day of r & r and doing all that. Thank goodness I make a point of NEVER touching the laundry. SIGH.......damn you Mom Syndrome!!!!!!

In case you haven't guessed, I did get the day to myself today. The boys went to Comic Con (they even bought me a shirt!) and I had planned to finish a book and relax in my jammies. That didn't quite happen. Well, staying in my Jammies all day did.

I did however manage to Make some delectable pumpkin scones today. I used this recipe from Taste of Home to use up some leftover pumpkin I had kicking around. I actually did not have any pumpkin pie spice but I used a mixture of cinnamon, ginger, nutmeg, and allspice. Everything turned out delicious.

Pumpkin scones from Taste of Home


  • 4-1/2 cups all-purpose flour
  • 1/2 cup packed brown sugar
  • 4 teaspoons baking powder
  • 3 teaspoons pumpkin pie spice (I used a mixture of 2 tsp cinnamon, 1 tsp ginger, 1/2 tsp nutmeg, 1/2 tsp allspice
  • 1 teaspoon ground cinnamon 
  • 1/2 teaspoon baking soda
  • 1/2 teaspoon salt
  • 1 cup cold butter
  • 2 eggs
  • 1-1/4 cups canned pumpkin
  • 1/2 cup milk plus 1/4 cup for brushing before baking

Preheat oven to 400 F

In a large bowl, mix together the dry ingredients. Use the large holes on a grater, grate the butter into the dry ingredients and mix to coat the butter with flour. You want a mixture that is crumbly with small pieces if butter throughout.

In another bowl, mix together the wet ingredients until it looks like a mass of gloppy pumpkin.
Add the wet ingredients to the dry and start mixing.  You will end up with a mass of messiness.

Turn this messiness onto the counter and press it flat. Fold it over onto itself (the best you can at this point)  and press. Keep folding and pressing until it forms a nice rectangle of scone goodness. This folding is how you get the tasty and flaky layers of buttery goodness.Pat the dough into a long rectangle. Cut into 8 squares then cut each square into 2 triangles so you have 16 wedges.


Transfer the wedges to a baking sheet, brush with milk and bake for 12 to 15 minutes or until golden brown. Transfer to a cooling rack.

Mix together some icing sugar with a small amount of milk to make a glaze to drizzle over the cooled scones. You can even add some pumpkin pie spice to the glaze.

I managed to make enough of these to freeze for breakfasts and snacks this week!

Until next time, stay warm and eat well.   (and rest up!)

Sunday, October 28, 2012

Weddings, PhDs, and Life. Oh My!

We have been oh so busy these past few weeks in the Little Kitchen.  We travelled to BC for Brother in law's wedding, came home for Dr. Sister's convocation to see her claim that beloved PhD, then had Brother in law and his wife come here for more wedding celebrations.... All that mixed in with everyday life means we have been on the go.  Here's the run down:

First things first: I am happy to announce that Sheila Syms is the lucky winner of the VH prize pack! Congrats!

Second: We had a blast in BC and even had some time to do some sightseeing, including the Capilano Suspension bridge!!

Third:  I managed to use another tasty sauce from my VH pack to make some Korean BBQ chicken wings.....very tasty!
(wash and pat dry some wings, coat them with sauce, place in a 350 degree oven until crispy. Just make sure to give the wings a toss half way through and even pour some more sauce on them.)

Fourth: I had fun making cupcakes to help celebrate the wedding.


Fifth:  The Boy gets to go to WE Day Tuesday. I am excited for him also, one of the girls he went to Africa with gets to speak!

Sixth:  We already have some snow here and I am not too happy about that.  I think this means some comfort food and warm pjs every night.

Seventh:  As happy as I am for all the joyous occasions as of late, I am looking forward to some down time and cooking time!

Until next time, stay warm and eat well!


Sunday, October 14, 2012

Excite Your Dinner and Enter The Contest: Mango Curry Roast Pork


Today I finally got a chance to use the first of my VH sauces to excite my dinner. You may have read my last post which talks about the goodies I received in the mail that contained some neat prizes and the jars of VH sauces to try. I am to use them to 'Excite My Dinner' and tell the world what I think about them. They even gave me a fancy disclosure statement to post that goes a little something like this:

"Disclosure - I am participating in the VH Excite Your Dinner 
blog tour by enCompass Media on behalf of Con Agra Foods. I 
received compensation as a thank you for participating and for 
sharing my honest opinion."
 
What did I make for dinner you ask? I used the mango curry to coat a pork loin roast before slipping it into the oven to roast. It was an easy peasy way to add some new flavour to Sunday supper. Here's what I did:

Thickly slice half an onion and line the roasting pan. This will give a flavourful platform for the roast to sit on.


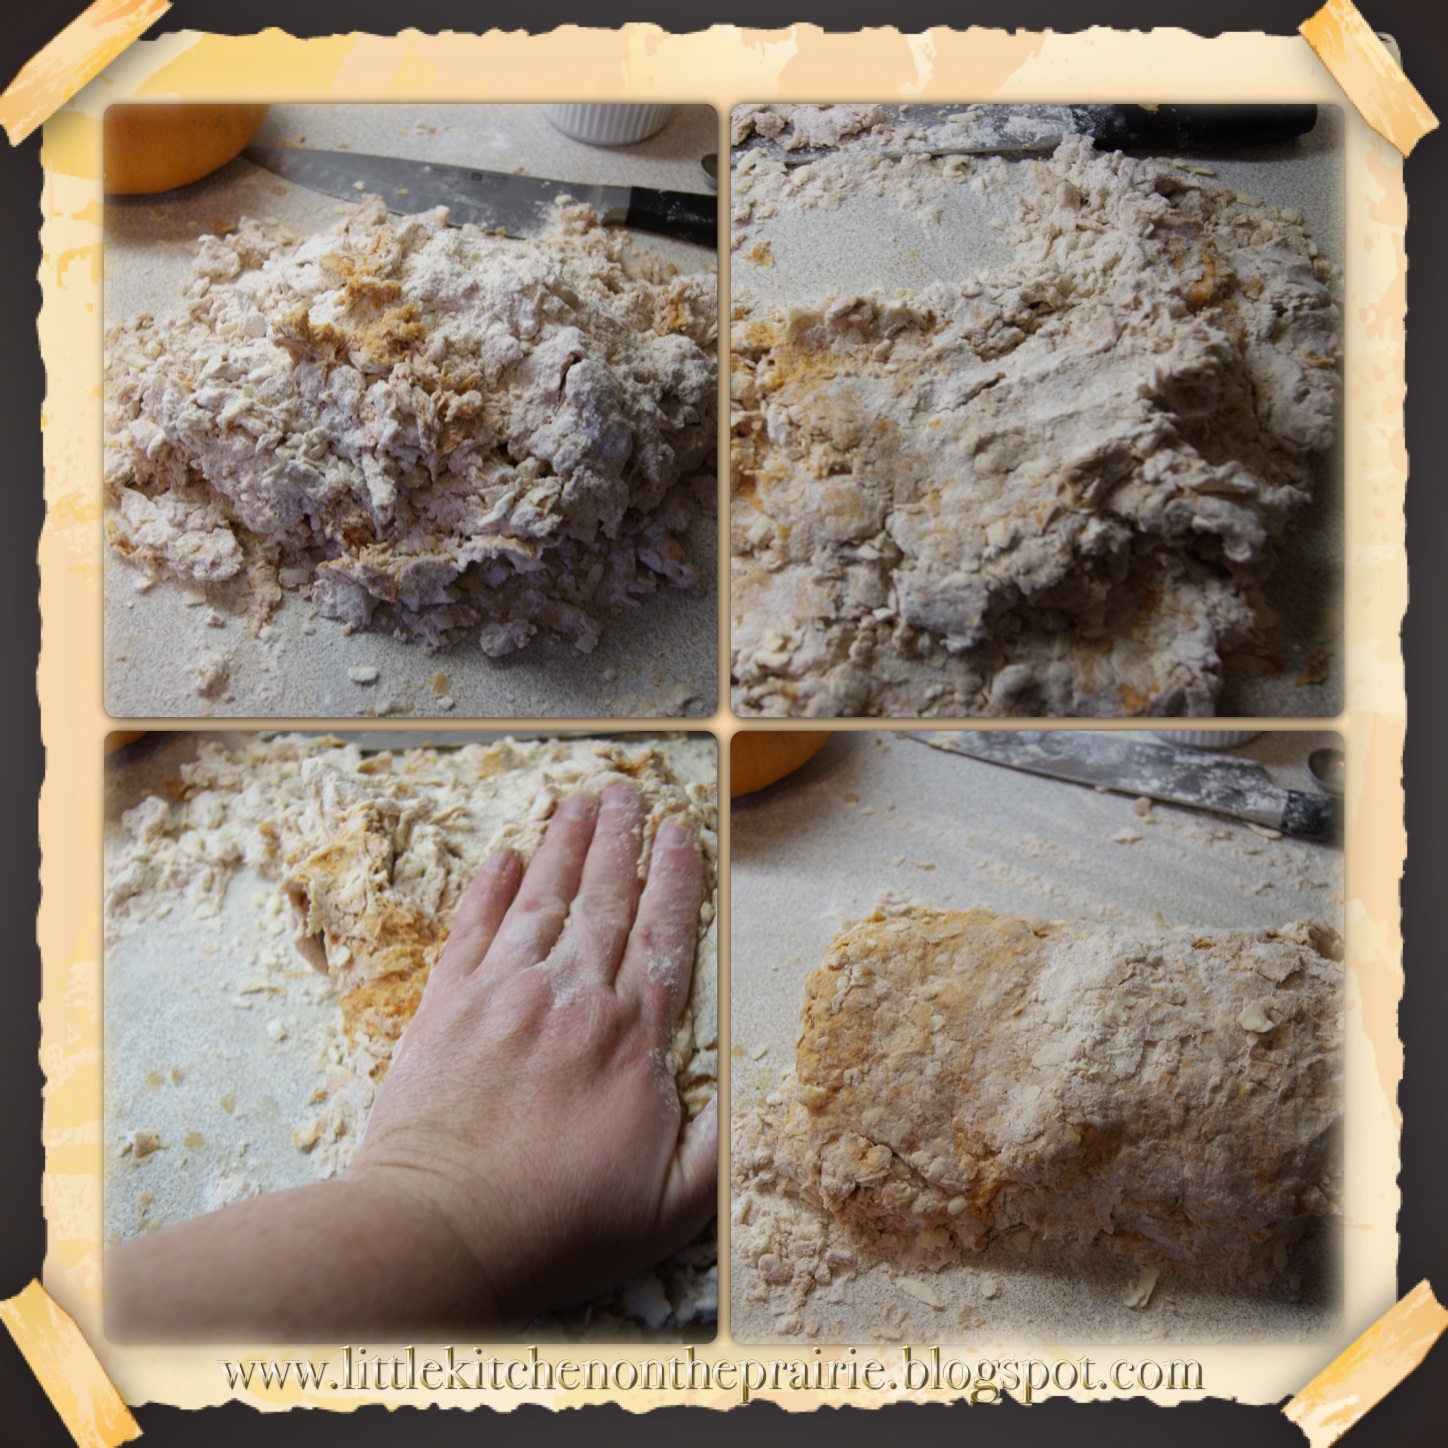
Using a large bowl to contain the roast, put a couple of heaping spoonfuls of VH Mango Curry onto the roast.


Get your hands messy and rub that sauce all over. Make sure every part of the roast is coated.

  
Place the roast on top of the sliced onions and add at least half a cup of 
water to the bottom of the pan. This will keep things from burning to the bottom
of the pan. This is a good time to insert a thermometer to help judge the 
doneness of the roast.
 

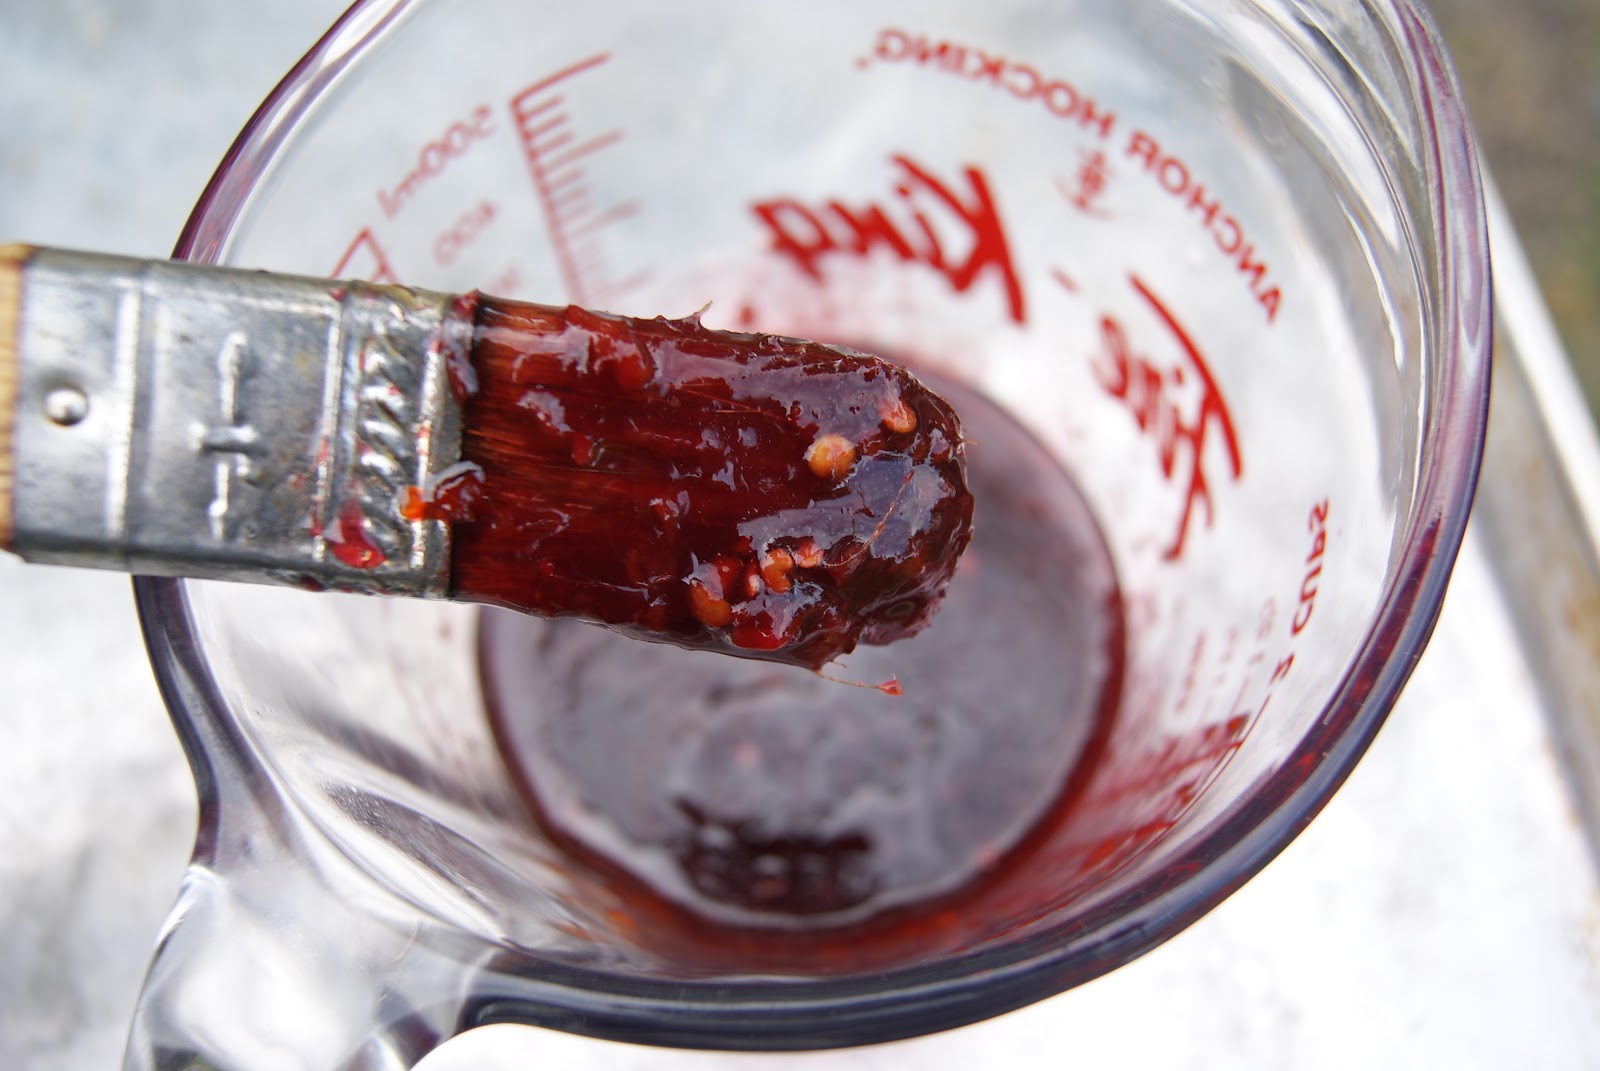
Part way through roasting, take the foil off and spoon some more Mango curry sauce over the roast. 
Continue roasting until cooked through.


 Allow the roast to rest for 15 minutes before slicing. I served the roast 
with steamed veggies and it made a very tasty dinner. The Boy, of course, 
made a sandwich with his Mango Curry roast pork and he thoroughly 
enjoyed it. VH's Mango Curry sauce is a sweet curry sauce with a faint mango
 taste to it.  It is quite nice because the curry is not overpowering. It is a well 
balanced sauce that combined very nicely with the pork loin. This is saying a lot 
because we are not generally a curry loving family. This was a bit of a surprise 
that  everyone enjoyed it.
 
There are a few things I do find a bit unsettling about this VH sauce. One of 
them is the salt content.(This is a big reason why I don't usually use premade 
sauces). A 1/2 cup of sauce has 680mg of Sodium in it. Now I know that
realistically, especially using it on a roast, I am not eating a full 1/2 cup of sauce
 but if I were serving extra sauce over rice this would concern me even more. If that were
 the case, I would also be concerned about the 230 calories per 1/2 cup. This is my
second concern. There are people out there who will eat more than that amount
 in a sitting. Once again, I return the realistic side. I'm not using these sauces 
everyday so once in a while, why not. I can see using this VH Mango Curry sauce with
chicken and veggies in a crock pot for a quick winter stew to serve over rice or
 even on some chicken wings.
 
My next sauce to try is the Korean BBQ! Any suggestions?
 
Please remember to enter the giveaway below for your chance to win a $25 VH 
prize pack!! It is just as easy peasy as this roast pork was. Go to theVH Facebook
page or the VH website, check our their sauces, leave a comment here telling
me what sauce you would like to try.  Do it. Contest ends Oct 26, 2012 
 

a Rafflecopter giveaway

Until next time, stay warm and eat well. 

Tuesday, October 2, 2012

VH Excite Your Dinner Blog Tour and a Giveaway!!

Have I told  you what a lucky lady I am? I am fortunate enough to participate in the VH Excite your dinner Blog Tour hosted by Kathryn at Mommy Kat and Kids.  Today I received by wonderful prize package with some neat items, including a couple bottles of VH sauces to use and blog about.  I will have to wait until I am back from a family wedding to cook (Unless I feel adventurous and want to cook in the kitchenette our hotel room will have....). I do have some ideas rolling around in my head and have even given the Boy creative license to come up with ideas.
My bounty of goodies!!
As part of the VH Excite your dinner blog tour, I get to host a give away!! (EEEEE!) Please pay a visit to the VH Website or the VH Facebook page and choose a favourite recipe or sauce that you would like to try.

In the meantime, I will work at cooking up some deliciousness with my sauces from the prize pack and get back to you guys soon.  Enjoy checking out all the choices VH offers.


a Rafflecopter giveaway

Wednesday, September 19, 2012

Disappointing Dinner

Sunday night I prepared for the week with a big crock pot full of chili and a bunch of hamburgers grilled and frozen for quick and easy use. We were set! Well, until the beef recall hit. After i checked packages and dates it was discovered that the beef we used was indeed on the e coli recall list. SHIT! Everything had to go because I just don't like kidney damage and death. I'm kind of funny that way. As it happens we were out and about tonight and decided to give a new restaurant. Danny's Whole Hog proved to be a disappointment.
Tonight we went out for dinner as a family to a locally owned, newly opened restaurant and left severely disappointed. I hate it when that happens. The Boy was happy with his burger but my beef dip and Hubby's corned beef left so much to be desired. I even pointed out the problems with the meal and was given what seemed to be rehearsed excuse about being newly opened, still working on the menu, and looking for comments blah, blah, blah...... No apologies or attempts to fix the problem here.
The beef dip was said to be a house made brisket. This brisket had no flavor, a stringy texture, and probably more chewy fatty pieces than anyone should serve. Ever. In all honesty, the garlic toasted bun was the best part of the sandwich.
The corned beef was touted as house made and seemed to not only be the same shitty cut as the brisket but seriously lacked flavor as well. The fries were really the only things that seemed to be a winner here, but that's no reason to go back now is it?
The service we received was good and the food arrived quickly but this happens in a mostly empty restaurant. While we chatted about our disappointing dinner experience we realized that there were warning signs even before we ordered. For instance, when I walk into a BBQ joint, I should be smacked in the face with the aromas associated with BBQ! That should have been our first hint that things were amiss! The lack of customers should have been our second hint. I think our true disappointment came from the fact that we have eaten the food from this company at catered events before and it was quite good. If you are going to work so hard to build a reputation on a BBQ business then don't rush into a hastily put together restaurant venture. Take the to make the space yours. The previous restaurant's decor is still prevalent and just doesn't speak BBQ. As it were, I have no desire to return.

FYI: we are toying with grinding our own ground beef and have learned our lesson about going to the big chain store for such a product. Stupid thing is, Hubby even suggesting grinding our own but were low on time (and energy)so weren't with the store shit. Stupid stupid stupid!!!!!!!

Sorry about this disappointing review but I felt you should know.


To cheer us up, here's a picture of the fabulous tomatoes we got from put CSA this week!
Until next time, stay warm and eat well.

Wednesday, September 12, 2012

Garden Bounty: Holding onto Summer

After being teased with 2 months off during the summer, I am back into the swing of things (I know feel sorry for me now)...things being getting up at an unGodly hour, making lunches, and enforcing homework.....SIGH....summer can't last forever. As the last days of my summer break drew closer, I continued prepping for the zombie apocalypse winter. The Boy and I even made perogies for the freezer!

I started working on this post a while back but just haven't found the time.

The other day I made tomato sauce with the intent to jar it up and save it for later use. I wound up boiling the sauce down too much and it became quite thick. At first I thought what the hell? Then I tasted it and thought...Oh my!! I had inadvertently made tomato jam instead!! How divine!! I had actually been scouring resources looking for a tomato jam recipe but so many of them had so much sugar in them, which I didn't want. The
sauce recipe I followed was one I found on Pinterest from America's Test kitchen. It is simple, without too many ingredients and cooks down nicely. I have even made this twice, the second time cooking it down further on purpose and it turned out just as tasty!

Beautiful luscious jars of tomato jam!!


The original recipe calls to peel the tomatoes but I didn't do that. I washed the tomatoes, cored them and put them through the food processor. Other than that, I followed the recipe. (oh except for the fact that I didn't process that many tomatoes, I cut the recipe into fourths and did 1/4 of the amount...I just don't have the space for 4 pots of sauce and the water canner on my stove!)

Some of the tomatoes are from my garden and some I bought from the Farmers' market. Many of the farmers had bins labeled 'canning tomatoes'. These are just over ripe and extra juicy tomatoes and are cheaper than the others. Only $1/pound!!

We have used the jam to eat plain with bread, as a base for pizza bread, in sandwiches, as a dip for chicken, paired with ricotta or basil or both....the possibilities are endless.  So far the Boy's favourite sammy has been a waffle and grilled chicken breast with tomato jam...this of course is his own creation!


I fear not having anymore ripe tomatos on the plants but I'm sure cracking open a jar such as this mid winter will remind me of the summer bounty we were so fortunate to have this summer.

Until next time, stay warm and eat well.

Tuesday, August 28, 2012

Preparing For The Zombie Apocalypse (I Mean Winter) Part II

Lovely tomato jam....soooo tasty

Once upon a time people canned and jarred their garden bounty because it was needed to get them through the winter. It was a necessity of life before markets and grocery stores were able to provide year round produce. Now a days canning seems to be a novelty or a hobby people try out to test their abilities. I do know some people who can so they remain as close to their locavore ways as possible. The truth is canning takes some planning but doesn't have to take all day- unless you are actually going to process mass quantities that is. Many of the recipes I've tried out only made 2 or 3 jars of garden goodness at a time so it didn't take that long at all.

I used to think tasks such as pickling were too much work to bother with but now I think the real issue was I just didn't know how to do it, or have the right equipment. Sure you need jars with the right size sealer lids. Some tongs or even a handy dandy jar lifter helps. Many people use the sanitize setting on their dishwashers to sterilize the jars but I don't have that machine in the Little Kitchen so I bought this ginormous canning pot from Canadian Tire many  moons ago to boil the jars in. It even had a lifter jar lifter inside but I'm not too sure where that went. I have lined the bottom of the pot with a towel to keep things from jumping around too much.
This tomato will make delectable tomato jam
 There's a few basic rules (for safety) to follow when canning and pickling:
(If you are ever unsure, please make sure to do some research and find information and directions you are comfortable following. This is not a definitive list but just the steps I follow. Always follow the recipe's instructions.)

1) A clean, uncluttered kitchen:  Depending on how much you plan on canning, you will need space for the jars to rest until  you move them to storage.  Workspace for prep food and a spot to keep things while you work is always handy.

2a) Inspect your jars. There should be no nicks or cracks in them, especially around the lip where the sealer lid needs to seal.

2b) Wash & sterilize:  Your jars and lids must be washed in hot soapy water, rinsed, and sterilized to keep food borne illness at bay. I usually wash my jars before I do anything else and then pop them in the giant canning pot full of water and turn the heat on. (It will take a while for such a large pot to boil so this helps organize my tiny workspace.) Jars boiled for 10 minutes are sterilized.  It is important to sterilize your funnels, tongs, and jar lifter as well so toss those in too.  Some people also put jars in the oven at 225F for 10 minutes. Most recipes will tell you to keep the jars warm until ready to use (read the instructions). The oven is good for keeping jars warm without the water but keep in mind, some recipes do call for a water processing step after you put the lids on your jars.


2c) Sealer lids can be boiled separately just before using so you don't risk boiling away the sealing compound from the lids.

3) Read the instructions on your recipe a bunch of times to make sure you know what to do. I also keep the recipe at the ready to double and triple check that I am doing things right.

4) Prep your food as per instructions and proceed from there as per your recipe instructions.


5) Enjoy the popping sound of sealer lids being sealed! When it comes to the sealer lids and rings, many recipes tell you to just finger tighten until the sealer lid gets sucked in and seals out all the air, then tighten. Follow the recipe's instructions on this one. I like to store the jars with the screw rings loose so that if food spoilage happens, the sealer lid will literally pop its lid.

So far this summer I have tinkered with pickled beets, pickled zucchini, spicy pickled green beans, and tomato jam! I have failed to take photos of all these as this was my first time for all of these things and wanted to enjoy the process. I must confess that I loved the tomato sauce so much I went out to buy more local tomatoes because I didn't have enough in the garden....

Until next time, stay warm and eat well.

Wednesday, August 15, 2012

Delectable Eggplant Sammies

Our yard renos are coming along somewhat slowly (It's my yard so there's no rush). We have been working on fixing it up, starting with a new fence and removing some trees that were in the way and coming up with ideas to make it a space we can really relax in. Today's plan to raise the sinking shed were put on hold due to rain. This of course allowed us time to clean up inside. (There's always something to do!) Aside from a nap and a trip to the store, I used some of our lovely bounty from the farm to make us a late lunch.

We keep getting such wonderful fresh veggies from our CSA at Almost Urban Farms and this is keeping me busy with cooking ideas. As the summer flys by, we get more and more yummy items in our baskets. This week we got this absolutely gorgeous (and gigantic) eggplant. We got an eggplant last week and I tried grilling it up along with the summer squash and let me tell you, it did not turn out as planned. Grilled zucchini and summer squash are always delish, but the eggplant turned out tough, chewy, and gross...ew...almost made me not want to eggplant ever again.

This week I knew it would wind up breaded, fried, and loving placed between 2 pieces of bread....and you know what? That is exactly what happened!


You will need:

1 eggplant
1 cup flour
3 eggs
2 cups panko bread crumbs
1/2 cup grated Parmesan cheese
1 tsp garlic powder
salt and pepper
1 clove garlic
fresh herbs (today I used rosemary, sage, oregano)
canola oil (enough to shallow fry)
provolone cheese, sliced (or any other good melting cheese)
marinara sauce (or your favourite tomato sauce)
Bread. Choose a good sturdy bread. I found a gorgeous loaf of Italian bread but the sour dough looked good too.

Wash and slice the eggplant into thick slices, sprinkle with salt and lay in a colander to drain.


Line a baking sheet with foil and place a rack on the sheet. Place this contraption in the oven and set the oven for 225 or 250 F, This will keep the cooked eggplant warm and crispy while waiting for the others to cook.

Pre heat a large fry pan and add a good amount of canola oil to the pan.  When the oil is hot, add a clove of garlic and a couple sprigs of rosemary, sage, and oregano. (Remove the herbs from the oil as they get crispy so they don't burn. I kept adding more herbs as I went and this really added a nice flavour to the the finished eggplant)

This is also a good time to heat up your marinara sauce in a small pot on the stove.


While the pan is heating up, you can set up a breading station: Place 1 cup of flour on a plate and mix in a good pinch of salt and a grinding of pepper. In a bowl, break and scramble up the 3 eggs. Finally, in a large bowl mix together the panko, Parmesan, garlic powder and another healthy grinding of pepper.

Review time:
  • baking sheet contraption in the warm oven
  • marinara sauce warming up
  • oil heating up
  • eggplant sliced, salted, and draining
  • breading station ready to go
Now it is time to bread the eggplant and fry to a crispy golden brown!!

Pat the eggplant slices dry with a paper towel (or clean tea towel).

Coat each slice in flour and shake the excess flour and plunk it into the egg wash, make sure it is thoroughly coated and allow the excess to drip off.


Coat the egg coated slice into the panko mixture. You may need to lightly press on the crumbs to help them stick. (Don't forget the edges!)


Carefully place a slice of eggplant in the hot oil and fry until golden brown. Gently flip the slice over and continue to fry. When the slices are all golden brown and yummy, transfer to the baking sheet/rack contraption you have in the oven to keep warm. (I have found that without the rack, the underside of the eggplant will get damp and uncrsipy...so don't skip the rack)


Once you have everything all fried and golden, get the bread sliced, the cheese ready and start assembling your sammie!

Check out the rack on a foil lined baking sheet....
I layered my sammie like this: Bread, sauce, eggplant, cheese, (tossed some kale on too), bread. I only used one slice of eggplant but I should have used 2 (and more sauce)!


If you don't want to fry the eggplant, you can spray it with oil or nonstick spray and bake it in the oven. You won't get the same crispness, but it will bake up nicely.

Until next time, stay warm and eat well.

Thursday, August 9, 2012

Summer Sipping, Blueberries, and Chicken


Summer is flying by and I am still doing my darndest to keep up with the cooking and baking, picture taking and blogging.  Truth be told, I am taking tons of photos but I am failing at the writing the part....I even took my laptop to the back yard to write but there are so many darn distractions in the yard...you know, the garden, butterflies, naps....that sort of thing....
The distraction of the first ripening tomato in the garden!!!
 I am still busy making my own lemon and ginger syrups for tasty summer bevvies (and for some marinades and dressings) but lately  I have tried a new syrup. Blueberry syrup!!! I did some research online for this one and came up with my own concoction that follows the recipe I follow for the lemon syrup. A simple syrup of equal parts sugar and water with the berries tossed in. This one seemed to work for me.


Blueberry syrup

4 cups blueberries (fresh or frozen)
1 1/2 cups water
1 1/2 cups sugar
1 lemon's worth of lemon juice

Put everything in a pot and let it come to a boil. Cook until the berries are popping. I gave the berries a bit of a mashing with a potato masher just to get all the juice out.

Allow everything to cool in the pot then pass through a strainer.  I stirred and mashed the berries in the strainer a bit more then transferred the mashed berries to a jar for use on toast....instant jam!


Store the berry syrup in the fridge.

I found this one required a bit more than 1/3 cup of syrup per can on club soda. It makes a nice fruity soda with a gorgeous colour.

Another use for this syrup:

BBQ sauce!!!!!

Mix equal parts chili paste and syrup and brush onto meats on the grill. I used this on chicken tonight and it was absolutely divine, a nice sweetness with heat on the back of the tongue!
I used Sambal oelek for this one.
Until next time, stay warm and eat well!! (and have a drink!)