Thursday, May 26, 2011

May The Weekend Be Long: Little Cabin in the Woods

"And just where have you been young lady?"

" Out"

"What kind of answer is that?"

"Ummmmm....well...."

"Well? What to you have to say for yourself?"


Okay, okay, I am so sorry I have been somewhat MIA lately.  Baseball season has officially started and it keeps us busy. I have been cooking and baking but just no time to write. When I am at the cabin I still like to cook and bake but with no Internet (just the data on my blackberry), I don't post while out in the woods.  Now add the demon cold from hell on the top of the pile and well, I am sick so I needed to sleep more.  Without further ado, I give  you:

Little Cabin in The Woods Part I: May Long Weekend

We just had a glorious long weekend here yet I am not posting anything until Thursday...I developed one heck of a  demon cold while at the cabin this weekend.  This cold has completely knocked me on my butt....but enough about the cold and back to the long weekend.  We decided last minute to make the trek out to the cabin.  The weather wasn't supposed to be all that nice and our thought on the matter was that we would rather be rained in at the cabin than rained in in the city worrying about the yard work we weren't doing.

We packed up and left Friday after work, that way we were there already in the morning when we woke up! 

Friday night, I made popcorn the old fashioned way, on the stop top! We watched a movie and chillaxed.


To make popcorn on the stove:

Heat a couple of tablespoons of oil in a pot...make sure to heat it first!  Now add enough kernels of popping corn  to cover the bottom.  Once it starts popping, slam a lid on and start shaking the pot around.  Shaking the pot around keeps the kernels moving so they don't burn.

You can add melted butter if you wish but with oil from the popping, you may find you just want to add some salt


Yes, it did rain on Saturday but that left me with plenty of time to start reading Cleo Coyle's "The Decaffeinated Corpse".  The boys played card games, read and even went for their run in the rain.
Hubby and I drove into a small town not too far away to pick up groceries.   Despite the higher cost I think it was worth it for our sanity to do this.  I wouldn't want to stop at the Superstore on the Friday before the long weekend, that would have been nuts!

Our first official cabin supper on Saturday was burgers and dogs with salad, corn on the cob, and potatoes. It really was a meal fit for everyone!
The spread!
Yes, R2-D2 travels with us...he carries the pepper!
The roasted beets! Peel, wrap in foil with some oil, salt, pepper, toss of grill until done!!

Sunday the weather warmed up and the sun came out. We put the dock back in the water, went for a short hike to see the petroforms, and sat on the dock and read our books. (The Boy also fished off the dock for a while).
The boy dons the chest waders with his Mets shirt!
The frame is in and the water is COLD!!
Getting the frame attached to the platform
Apparently I don't take enough photos of the Boy!
Weighing down the frame so it matches the end piece for easy attaching!
Ahhhh....an nice evening shot...reading chairs still in place!
It really was a relaxing weekend, even with the demon cold from hell.

A quick hike at the Bannock Point Petroforms proved interesting. It is always neat to go see the ancient rock formations, the cloth offerings, and the scenery is nice as well.

Turtle formation

 It really was our lucky day...we spotted this guy walking around and then sitting in the woods as tough he was keeping an eye on these ancient grounds!

Hello Mr. Fox, so glad to came by to say hi!

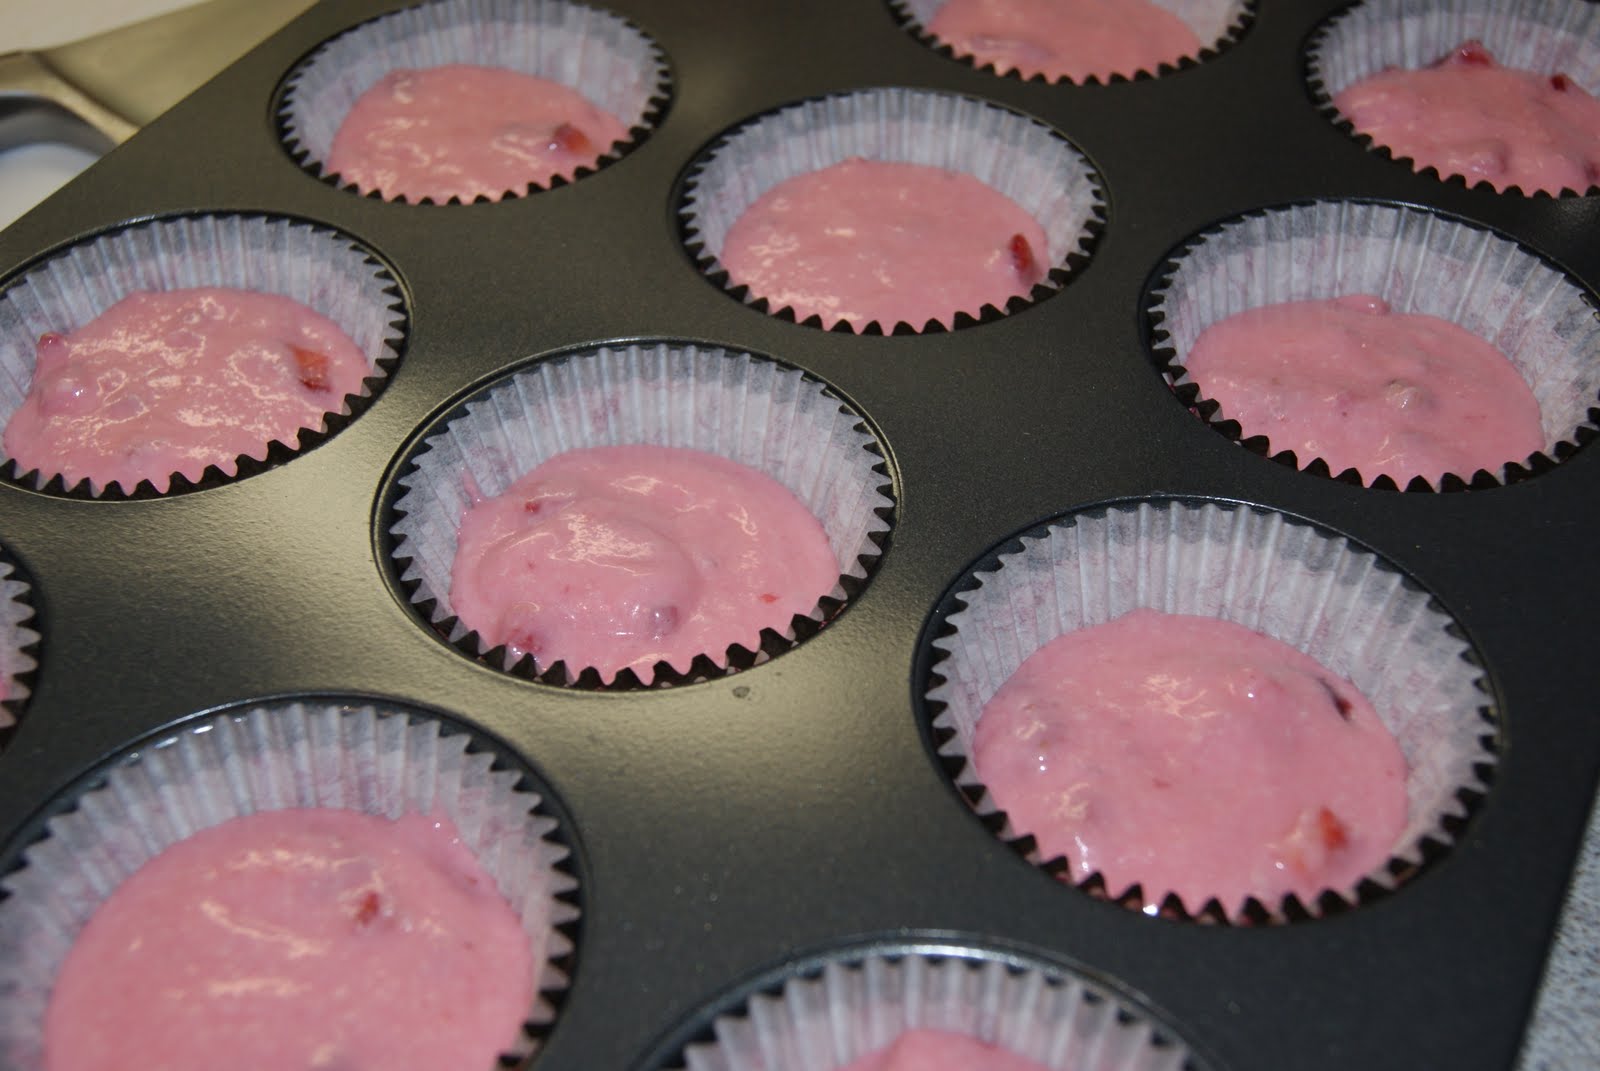
Sunday evening I baked some brownies....S'mores brownies to be exact. I took them over next door as it was Kerri's (from Kerri on the Prairies birthday on Saturday...a bit late but better late than never!
Happy birthday Kerri!
 The neat thing about baking at the cabin is that either I have to improvise or I get to use tools I don't have at home!

S'mores Brownies

Pre heat the oven to 350 degrees F.


Butter a 9inch square baking pan.  Line with parchment.  (The parchment helps for easy removal to cut the brownies later.) At the cabin I had no parchment so I made sure to oil up the cast iron skillet I used!

Line the pan with graham crackers, breaking them up as you go to make sure they fit.

In a pot (or in a bowl in the microwave) melt:
  • 1/2 cup butter and stir until smooth with;
  • 1/4 cup of your very best cocoa powder
See?  I only use this beater at the cabin!!
Put this mixture aside to cool slightly

In a bowl beat:
  • 2 eggs until frothy
Add to the bowl, but do not mix yet:
  • 1 cup of sugar
  • 3/4 cup flour
  • a pinch of salt
Pour the butter/cocoa mixture into the bowl and mix until all the ingredients are well combined.
  • add a teaspoon or so of vanilla
Pour the batter, scraping out the bowl into the prepared pan.

Shake the pan or use a knife to even the batter out in the pan.


Slice large mallows in half and chop up the chocolate!

Allow the brownies to cool slightly before arranging some halved marshmallows and a chopped up chocolate bar on top.

Place under the broiler until the marshmallows have puffed up and are golden brown....remember to watch closely!!
You really do have to wait and allow these to cool completely before cutting.  Otherwise they will be an ooey, gooey mess and will not cut smoothly at all!!


Until next time, stay warm and eat well...and kick any demon colds that may have come your way out the door!

Saturday, May 14, 2011

Plants vs Zombies Cake

Today was a great day! The sun was shining, I got to spend some time in the garden, and I delivered the Plants vs. Zombies cake!! This cake was so much fun to make. I even found myself giggling as the characters came together.  I really don't have pictures or directions for the characters but I made them from fondant (marshmallow fondant)  and basically just played around until I got what I thought looked great.  I also had lots of 'artistic direction' from the Boy and Hubby as they play this game and know more about the characters than I do.
The cake is my favourite devil's food cake recipe and the rest is just a lot of fun!  I hope the birthday boy enjoyed his cake!

Here are the characters I made to put on the cake.


Here's the cake for the characters to rest on!


And the cake all put together!!


Sooooo much fun!!

Friday, May 13, 2011

Rain, Rain Go Away...

It has been raining ALL WEEK!!!! We really don't need any more water here.  The flooding situation is still pretty tense here on the prairies. So tense in fact the Government is considering an intentional dike breach in order to save a town....say what? CBC explains here.  For some amazing aerial photos of the water situation on the prairies, click here.  My best thoughts and wishes go out to everyone affected by the flooding as well as the farmers and property owners whose land will be flooded my this measure...I would not want to be the one making this type of decision, that's for sure.

I have been planned and working on a cake for this weekend.  So that post will come later this weekend.  What? I can't unveil the cake before the party!

In the meantime cake scraps and leftover icing makes for a tasty snack!


Until next time, stay warm and eat well.

Tuesday, May 10, 2011

Chasing Away the Rain with Mango Lime Cupcakes

The Boy had his first baseball game of the season scheduled for last night. Unfortunately it rained and the game was cancelled. This calls for cupcakes.  I know, I know, I just made cupcakes the other day...I was just so excited at how well the pretty pink strawberry rhubarb cupcakes turned out that I wanted to try another flavour combination....hmmm....what to do, what to do.

Last week while shopping for Cinco de Mayo, I grabbed a mango thinking I'd probably use it....I also grabbed a bunch of extra limes....hmmmm....what to do, what to do...


Mango Lime Cupcakes!!!! Oh yes I did! I used my basic vanilla cupcake recipe, you know the same one I used to make the strawberry rhubarb cupcakes and just switched out the fruit!


Mango Lime Cupcakes

3 cups flour
3 tsp baking powder
1 tsp baking soda
1/2 tsp salt
1 cup butter
1 1/2 cups sugar
4 eggs
4 tsp vanilla
1 1/2 cups buttermilk
2 cups mango (chopped fine)
zest of 1 lime (I think I will use more next time)
squeeze of lime juice
1 tbsp sugar

Pre-heat oven to 350F

Peel and finely chop the mango.  Zest the lime, making sure to get only the green.  Mix the mango, lime and lime zest with a squeeze of lime juice and 1 tbsp sugar and set aside.


In a bowl mix together 3 cups flour, 3 tsp baking powder, 1 tsp baking soda, 1/2 tsp salt and set aside.

In the bowl of a stand mixer (hand mixer or by hand will work too) cream the 1 cup butter with the 1 1/2 cups sugar until light and thoroughly mixed.

Add the eggs, 1 at a time allowing each one to mix in completely before adding the next one. Mix in the vanilla. (I suppose tequila would also go well here....)

Add the flour mix and the buttermilk, alternating additions starting and ending with the flour.

Mix in the mango/lime zest/lime juice mixture.

Scoop into lined cupcake pans to 2/3 full and bake for 15 to 20 minutes or until a toothpick inserted in the centre comes out clean.  Cool in pans for 5 minutes then remove to cooling racks to complete cooling.

I looked around (again by look I mean Internet search) for a coconut icing recipe.  I found and interesting one that was similar to a meringue butter cream but used the egg yolks instead of the egg whites...I just happened to have some egg yolks leftover from the the strawberry meringue butter cream I made the other day...perfect!

To make a long story short, I was 100% skeptical of this recipe but I gave it a go.  You know what, it is silky, rich and sooooo tasty.  I just wished I had the coconut extract it calls for but it still has a nice coco nutty flavour with a hint of lime...I did make the addition of lime zest to the recipe and sprinkled the final cupcakes with toasted coconut...yum!!
 
Find the icing recipe here


To toast coconut:

Pour the coconut in a dry pan and heat over low to medium, watching closely.  Give the pan a stir or a shimmy shake every now and then.  When the coconut starts to brown, it will finish toasting quickly.

You can also toast coconut in the oven on a baking sheet.  Just make sure to not have the oven too hot and to keep a close eye on things.

Until next time, stay dry and eat well!

Saturday, May 7, 2011

Strawberry Rhubarb Cupcakes

I am the only girl in my house (unless you count the cats but....).  Sometimes being surrounded by the boys, I feel the need to have nice, pretty, girlie things around.  You know, just because it is nice sometimes to have pretty things.  One really girlie thing I have is my lunch bag.  It is a Disney princess lunch bag and it is pink.  Co workers giggle at it, I know they do because the giggles are often followed by "Nice lunch kit, did you steal it from your kids?"  No, it is mine.  The boys both have New York Mets lunch bags but if they leave that one in a locker or at work, they will not take the pink princess lunch kit! Having pretty things really is just a way of establishing ground rules for what belongs to me.  (Although I am sure that when it really comes down to it, they really don't care either way.  I do however appreciate them letting me think that way.)

My friend Trina made some oh so pretty looking strawberry cupcakes the other day, they really had me drooling.  I started looking (by looking I mean Internet search) for strawberry cupcake recipes.  I found so many that it was overwhelming.  What I decided to do was adapt my vanilla cupcake recipe into a strawberry cupcake recipe.  The strawberry meringue butter cream recipe I saw on Annie's Eats. These girl knows her butter creams! She and Trina both used the one from Martha Stewart.  I changed things up a bit. What I did was this, I used my regular Swiss meringue butter cream and added pureed strawberries at the end.....GLORIOUS (insert angels singing here).


I did make another addition to the cupcake recipe.....Rhubarb!! We were wandering around the produce section and low and behold they had beautiful looking stalks of rhubarb so I made strawberry rhubarb cupcakes with strawberry meringue butter cream.....summer in a cupcake!!


Strawberry Rhubarb Cupcakes
Printable recipe

R2 D2 is always close by...
3 cups flour
3 tsp baking powder
1 tsp baking soda
1/2 tsp salt
1 cup butter
1 1/2 cups sugar
4 eggs
4 tsp vanilla
1 1/2 cups buttermilk
2 cups strawberries and rhubarb (chopped fine)
splash lemon juice
1 tbsp sugar
Small dash of pink food colouring (optional)

Pre-heat oven to 350F

Finely chop the rhubarb and the strawberries.  Mix with the splash of lemon juice and 1 tbsp sugar and set aside.

In a bowl mix together 3 cups flour, 3 tsp baking powder, 1 tsp baking soda, 1/2 tsp salt and set aside.

In the bowl of a stand mixer (hand mixer or by hand will work too) cream the 1 cup butter with the 1 1/2 cups sugar until light and thoroughly mixed.


Add the eggs, 1 at a time allowing each one to mix in completely before adding the next one. Mix in the vanilla and the food colouring, if using.


Add the flour mix and the buttermilk, alternating additions starting and ending with the flour.

Mix in the strawberry/rhubarb mixture.


OK, I am going to level with you here.  I added some pink food colouring to the batter with the eggs to make sure I got a pretty pink batter!!

Scoop into lined cupcake pans to 2/3 full and bake for 15 to 20 minutes or until a toothpick inserted in the centre comes out clean.  Cool in pans for 5 minutes then remove to cooling racks to complete cooling.


Strawberry Meringue Butter Cream

5 egg whites
1 cup plus 1 tbsp granulated sugar
1 1/2 to 2 cups butter, room temperature
1 cup strawberry puree (strawberries, splash of lemon juice in a blender until smooth)

In a bowl set over (not in) simmering water whisk together sugar and egg whites until the sugar is dissolved and the temperature reaches 160F.   Remove from heat and start the next step. (I pulled mine off the heat before 160 as my 'finger test' was not gritty indicating the sugar had dissolved.)

Finger test- dip in a finger and rub with thumb...if it feels gritty, keep whisking and heating.

With the whisk attachment, beat the egg whites until thick and glossy and form stiff peaks. This will take about 5 to 8 minutes.

Add in the room temperature butter 1 tbsp at a time until mixed in.  You may find that you want to stop adding butter when you reach the desired consistency.  I noticed right away when the consistency changed and decided to stop adding butter. I used only 1 1/2 cups of butter today.


Mix in the vanilla and the pureed strawberries until well combined.


Swirl onto pretty cupcakes!!

R2 D2 approves of these pretty cupcakes!
I love these liners!! I found them at Williams Sonoma when we were in St. Louis and have been saving them for a pretty cupcake occasion!

Until next time, stay warm and eat well!